
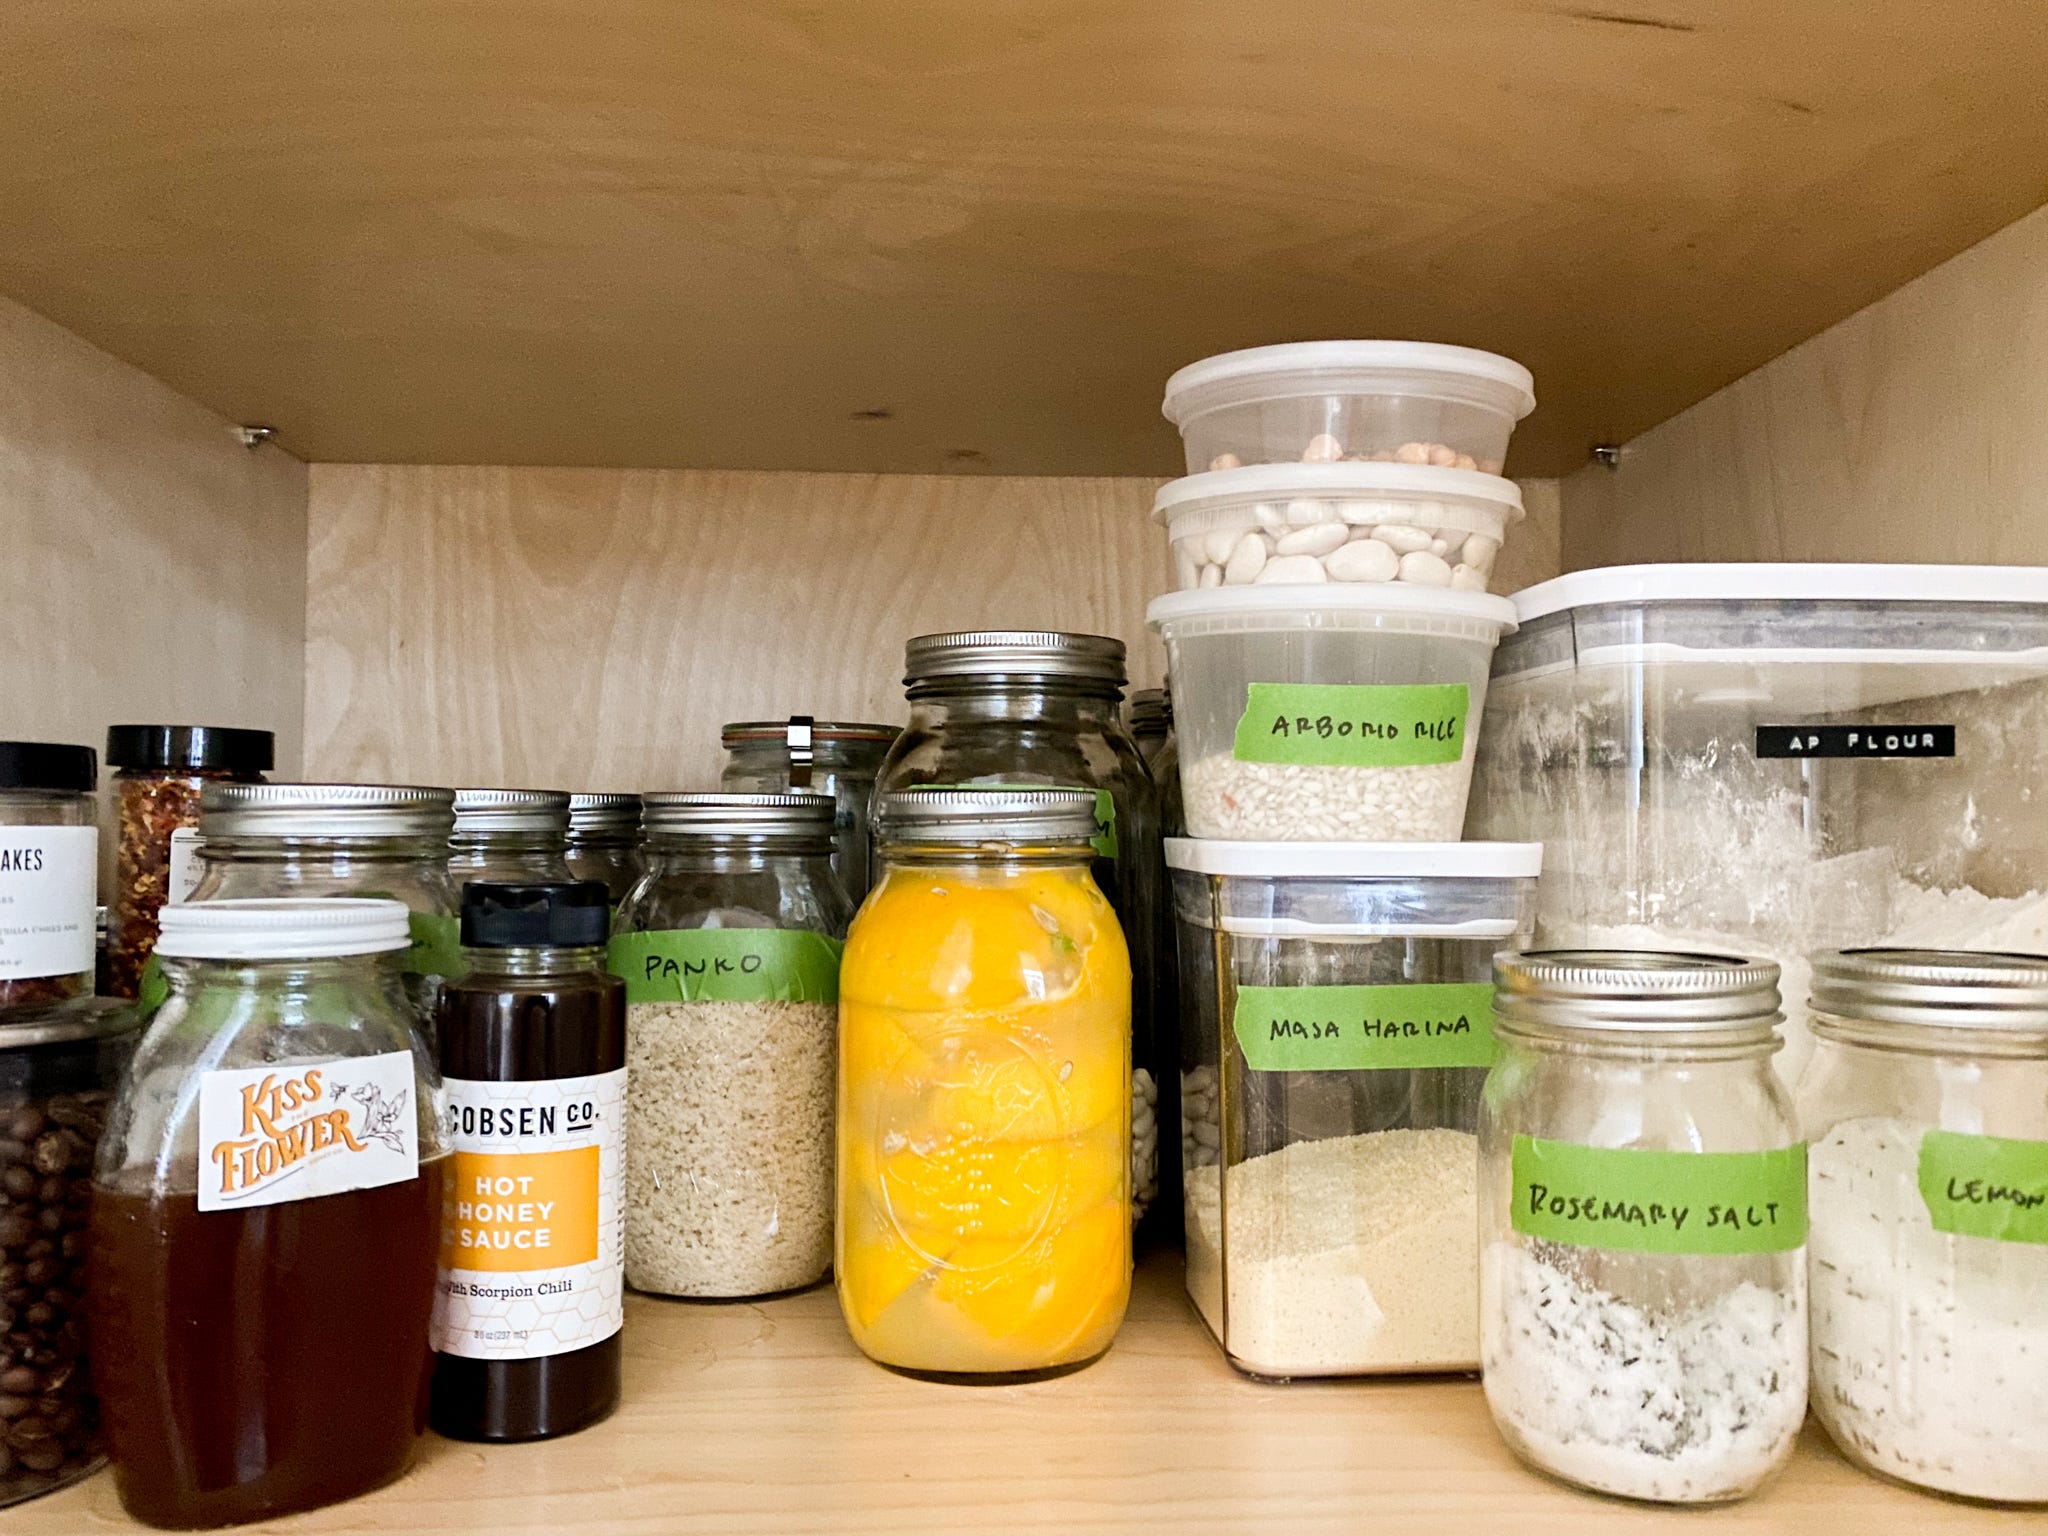
Preserved Meyer lemons.
A two-ingredient preserve that saves the best of California citrus for foggy days ahead.
DOES THIS LOOK RIGHT is an amateur newsletter from an equally amateur cook on the sensory building blocks of cooking.
I generally did not understand the concept of California before I moved here. I thought San Francisco would be a breezy sunny and 70° year-round, and had never tasted a fresh fig or avocado. The biggest culture shock was realizing that it’s quite common for those two things to grow in backyards, or along sidewalks, or inside blooming community gardens. And not just figs and avocados – limes, pomelos, Meyer lemons, the list goes on.
I’ll have friends drop off a portion of the glut of citrus they get from their backyard or neighborhood as the cooler months come to an end, and always make a go of stretching their lifespan. I’ll use some right then and there, and save the rest for the months ahead by preserving them in salt. When preserved, Meyer lemons transform from sweet to savory, and take on a tangy, briny character that goes a long way in anything from roasts to salads.
I think I’ve come a long way in the preservation and fermentation realm over the past year which has somewhat faded my irrational fear of botulism. But without fail, I always notice something in a jar or can that throws me into a panic, wondering if what I’m seeing is normal or will kill me (again, irrational). The good news is it’s never the latter. The method below is a nice foray into the preservation world – high-acid, lots of salt, and no canning required. Even so, I’ve included some DTLRs on normal changes you might notice during the process so you can rest easy if you too believe all roads end in botulism.
How to make preserved Meyer lemons
Adapted from “Everything I Want to Eat” by Jessica Koslow
Ingredients
Meyer lemons, scrubbed and dried
Kosher salt
Fresh lemon juice, as needed
Equipment
Sterilized wide-mouth jar and fitting lid
Citrus press
Method
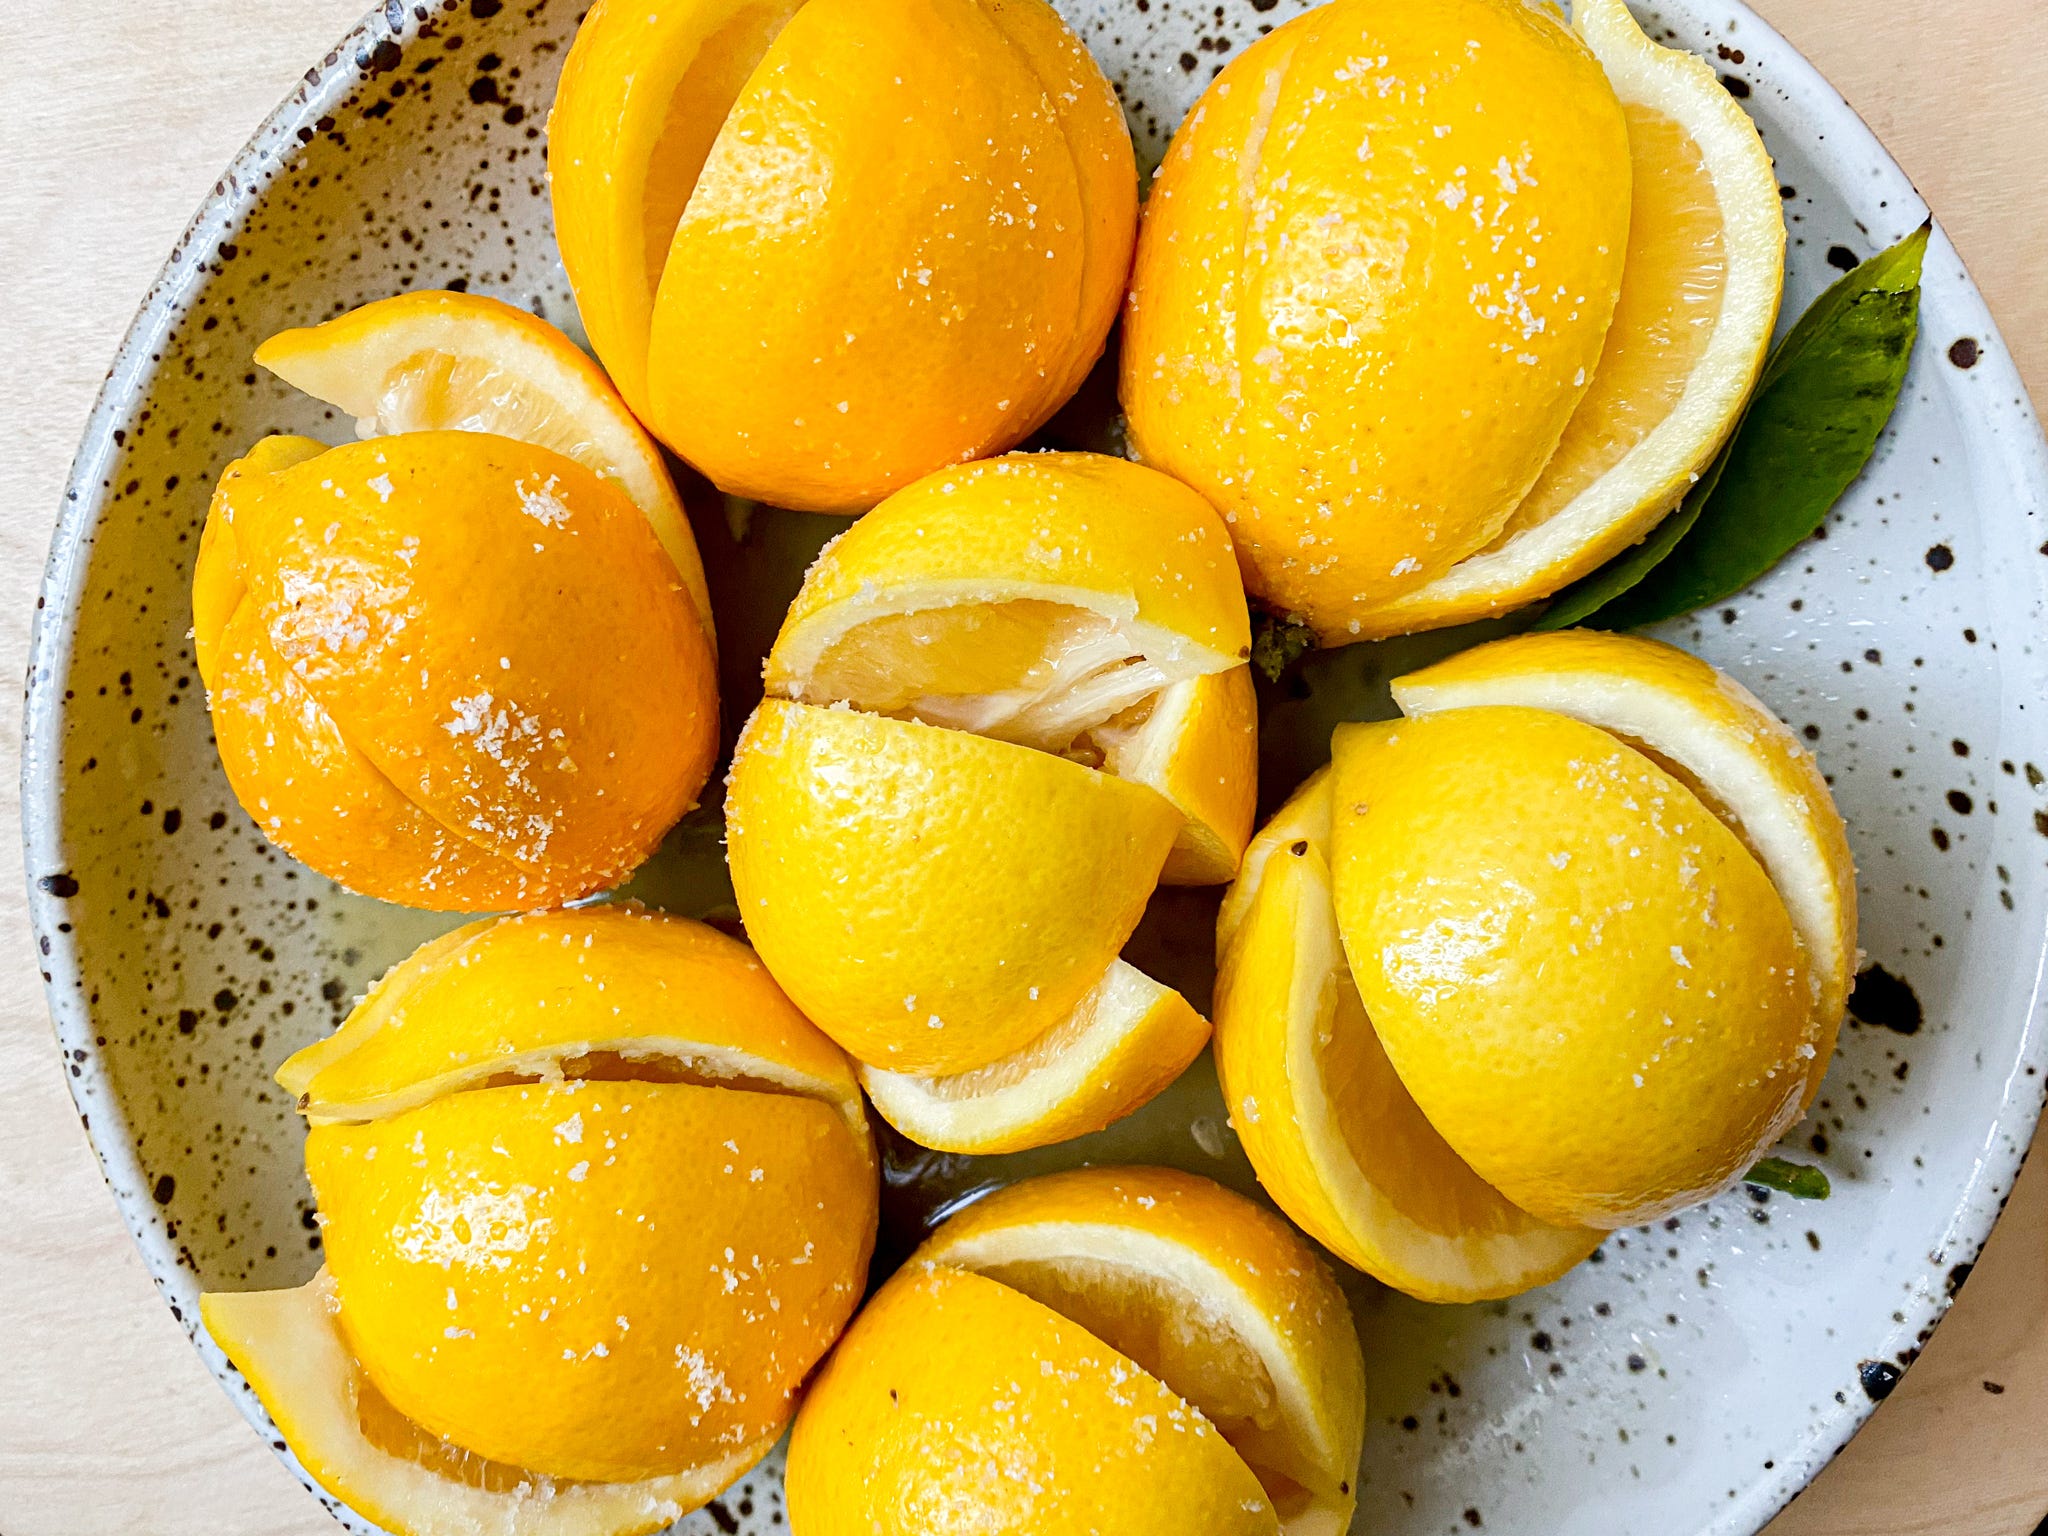
Using your non-dominant hand, hold a lemon stem side down on a cutting board. With your dominant hand, use a paring knife to cut through the lemon stopping the knife just before the stem so the two halves are still connected. Rotate the lemon 90 degrees, and slice down through the middle – once again stopping before you reach the stem so you have an X-shape cut. Repeat with remaining lemons.

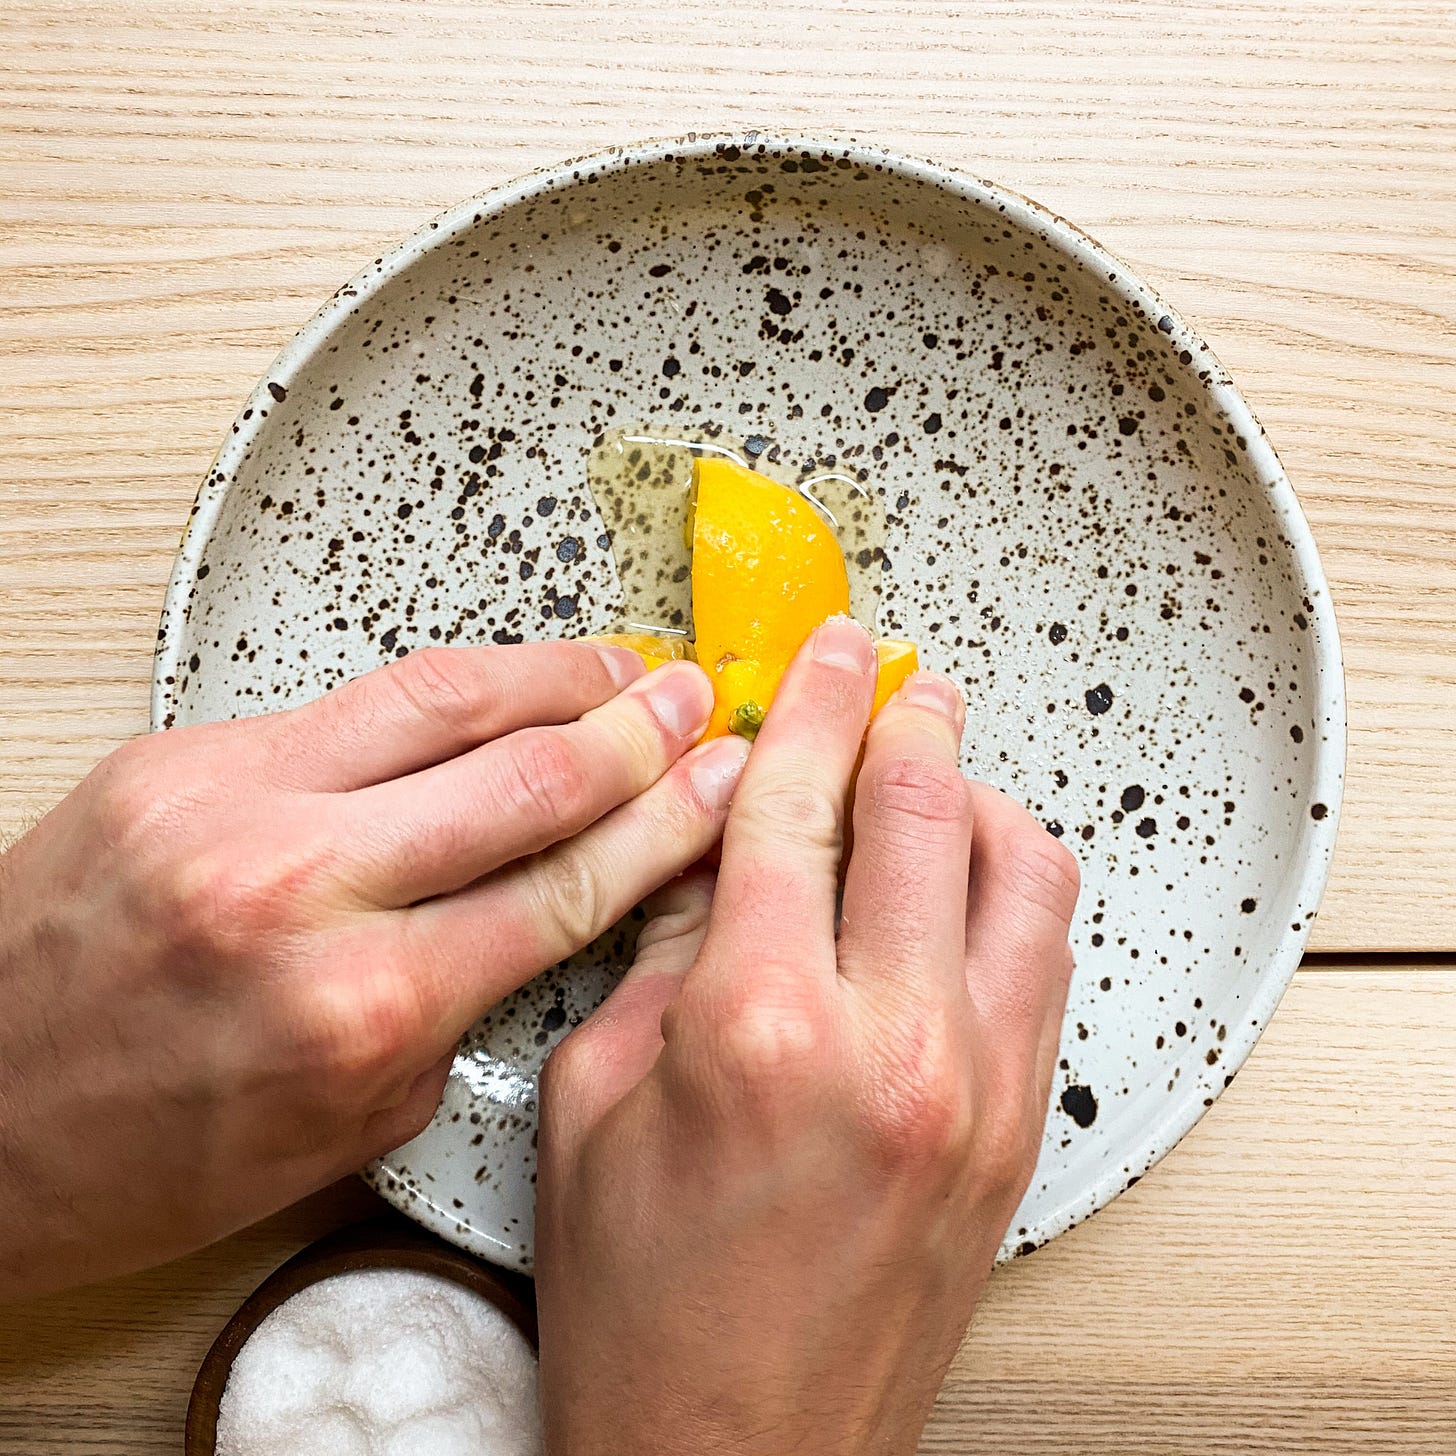
Sprinkle a pinch of salt in the bottom of a clean, dry jar. Working over a large bowl, pull open one of the cut lemons (ensuring it stays intact at the stem), and pack it with salt. No need to be precise with measurement here, but aim for around a tablespoon of salt per lemon.

Turn the lemon upside down so it’s stem-side up. Using your palm, slowly but firmly press down on the lemon so it flattens and begins to release juice. Transfer the lemon to the jar. Continue with the rest of the lemons, and use a wooden spoon or other long utensil to press the lemons down in the jar after each addition.
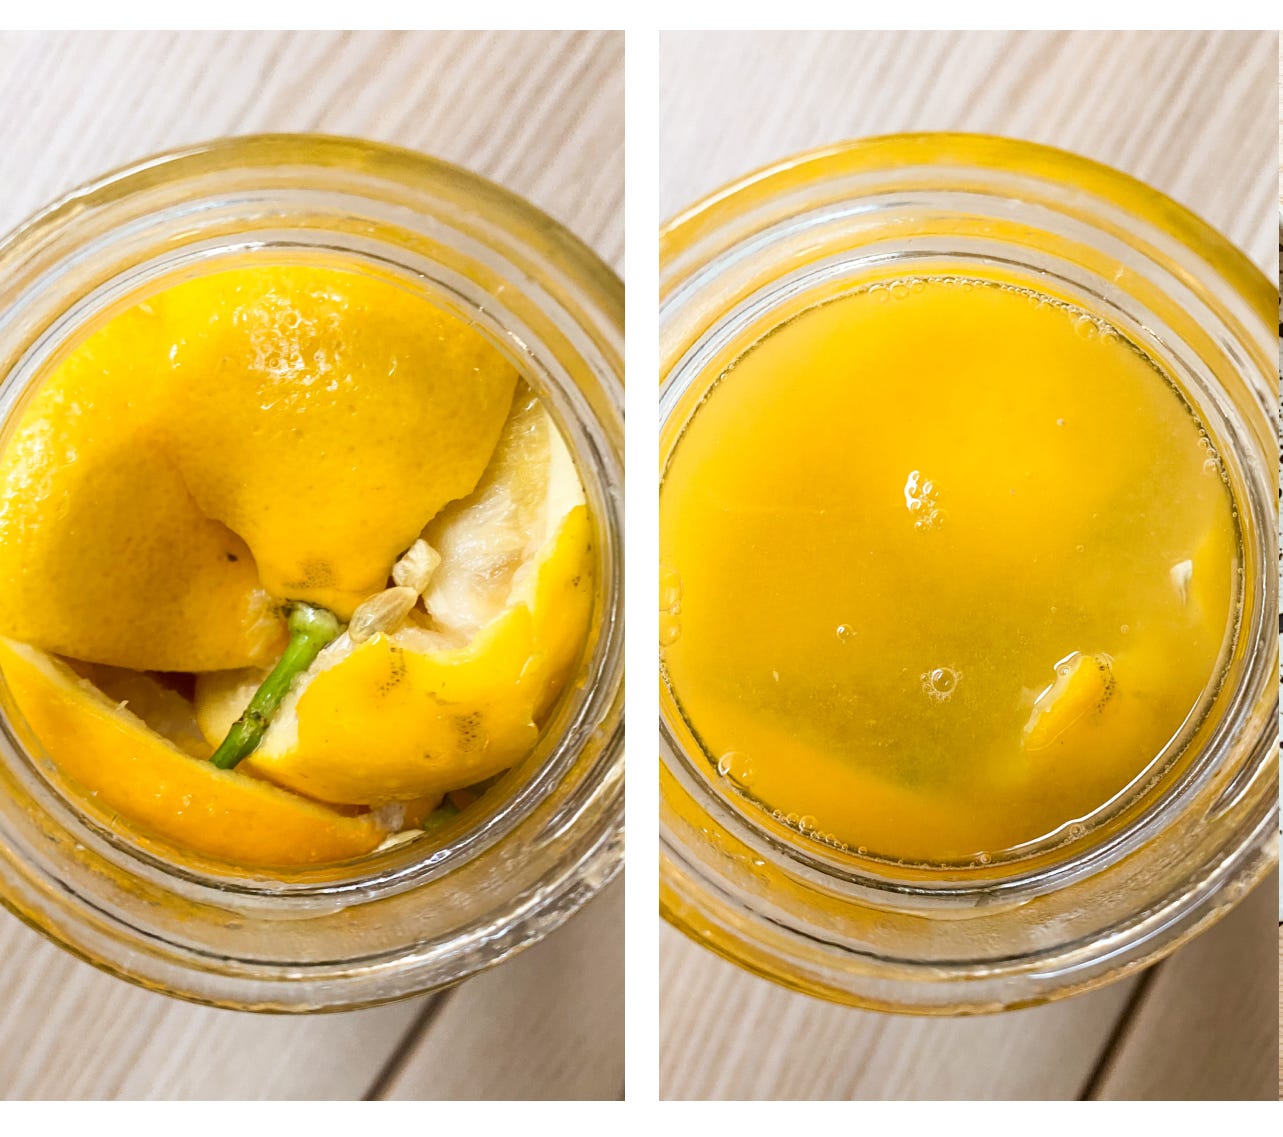
Pour the leftover juice that’s collected in the bowl over the lemons in the jar – the lemons should be fully submerged. If they aren’t, add fresh lemon juice and a five-finger pinch of salt to the jar until the lemons are submerged. Loosely screw the lid on the jar and swirl gently to combine the salt and juice.


👀 DTLR?
You might see some lemons still peeking out from the liquid. As they sit, the lemons will soften and you’ll be able to fit more under the liquid. Check again after step 5 – if they’re still above the surface, remove a lemon quarter or two from the jar.
Let the jar of lemons sit overnight. The next day, after the lemons have softened a bit, press them down in the jar once more using a wooden spoon. Close the lid, and let sit in a cool spot for about 10-14 days. Note: It’ll take a bit longer in cooler months, and a bit shorter during the summer. Use the cues below to guide you.
👀 DTLR?
During this process, you’ll notice a few changes in the jar. Like any preservation or fermentation project, exactly what changes you notice will depend on your environment. Here are a few good rules of thumb:
✅ Cloudy liquid
✅ White, lacy strands around the submerged lemons
🛑 Mold on top of the lemons or liquid
🛑 Discoloration
You’ll know when the lemons are ready when the rinds are soft and the pith of the rind (the white part) is translucent.
When the lemons are ready, move the jar to the fridge where they will keep for at least four months. To use the lemons, rinse the rind and scrape off the mushy flesh and any seeds.